It's late 2006 and I'm still running Windows 2000 at home. Nothing personal against Windows XP, it just doesn't offer anything new that I need. I can write Java code and rambling web page articles on Windows 2000 just fine. However, good ole' Win2k is getting rusty and I have no interest in Vista for a variety of reasons. When I build a new PC in the near future it will likely be running some flavor of Linux. As such, I expect this will be my last Win2k article. So why not go out with something that's a) fun b) poorly documented and c) an idea I've wanted to try for a while.
Microsoft recently made Virtual PC 2004 a free download. Their motives were not altruistic of course. In my estimate, they view it as a stopgap measure to prevent users from outright switching to Linux. "Hey guys no need to get a PC with Linux preinstalled, just buy a PC with a $200 GenuineTM copy of XP/Vista and run Linux in Virtual PC!" I started using Virtual PC at the office recently. Without violating any non-disclosure agreements, I'll just say that we've had a ton of problems keeping developer PCs in-sync. Everyone has different levels of service packs, tools, servers and so on. It was a nightmare to manage, especially when you consider the growing number of offshore developers. Maintaining a common Virtual PC baseline became a good solution to this problem. We also need to test on different OS versions and Virtual PC is a huge timesaver there too.

That's boring though. What's really nifty about Virtual PC is that it allows you to revive old operating systems. For me, that means being able to run my beloved "Gold Box" AD&D collection with sound. Sure there's an outstanding emulator called DOSBox that gets the job done, but to get the real retro experience I'm going to need Virtual PC. Plus there are a few Win95 specific games and applications I'd like to fire up for old time's sake.
My final Win2k article is the least useful but by far the most entertaining: How to install & run Windows 95 on Virtual PC 2004. Welcome back to 1995.
Note: Although this article/tutorial was written for Windows 2000 there's no reason to think it won't work on XP and Vista. Virtual PC is Virtual PC regardless of which Windows flavor it's running on.
This would be the perfect time to give a huge thanks to "Virtual PC Guy" Ben Armstrong, specifically this posting on installing Windows 95 on Virtual PC. It identified the need to first install DOS 6.2X, linked to the Intel motherboard driver, and offered the tip on copying the entire Windows 95 install (which I already planned to do before finding the post). Earlier on I referred to this topic being "poorly documented". This posting was basically the only useful resource I could find.
* I own legitimate copies of DOS 6.2 and Windows 95. I'd recommend using legitimate copies too. They should be cheap at computer shows or eBay. If you get copies off some warez site they obviously could be virus-laden. Then again, we're talking about a Virtual PC here so it's not a big deal.
Most of the steps are pretty straightforward but the screenshots are there just in case..
Start the Virtual Machine Wizard
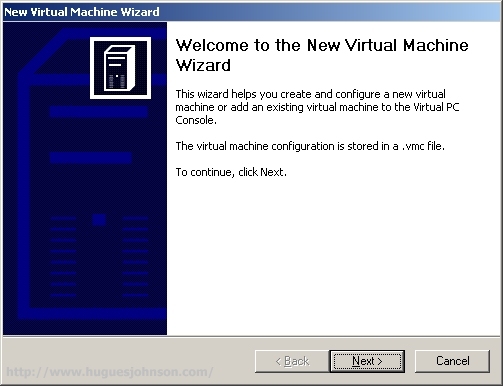
When you open Virtual PC for the first time New Virtual Machine Wizard will kick-off. If you're already using Virtual PC then click New on the console (but you already knew that).
Create a Virtual Machine

On the Options screen you'll want to select Create a New Virtual Machine.
Virtual Machine Name and Location
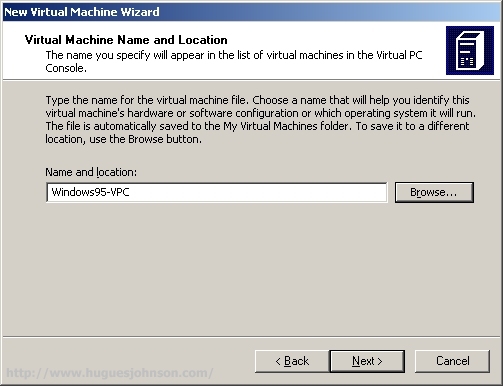
Choose the name and location of the new virtual machine, I went with Windows95-VPC.
Operating System
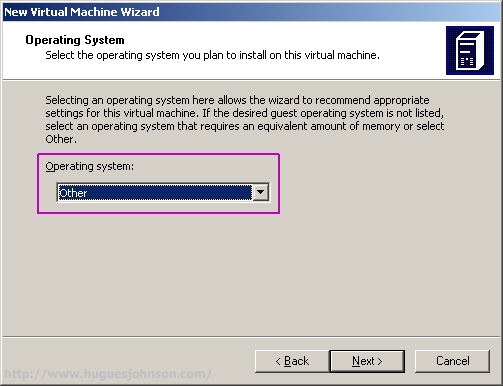
On the Operating System screen select "Other". Yeah, there's a "Windows 95" option but that defaults to 32mb of RAM.
Adjust RAM
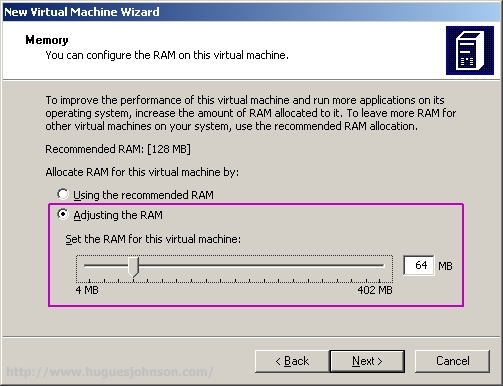
The "Recommended RAM" for a generic machine is 128mb. However, for Windows 95 you'll want to start with 64mb at the most. Apparently Windows 95 has some installation problems with more than 64mb RAM in a virtual machine (maybe a real one too?). At least I read some usenet postings that made this claim with rather vague explanations behind it. After Windows 95 is installed you can upgrade it to 2gb, I bumped it to 128 and it's running smoothly. I played with the RAM a few times so some screenshots may show different values.
Create a New Virtual Hard Disk
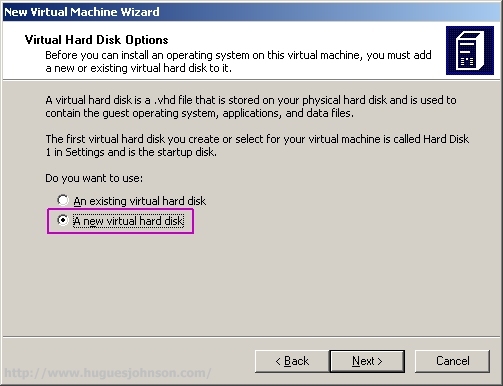
The wizard will now prompt to create a new virtual hard disk or use an existing one. Let's go with new...
TEMP.vhd
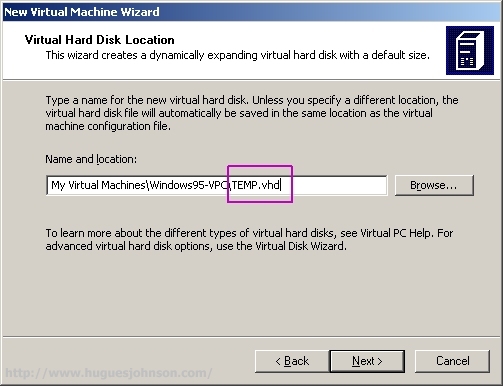
Here's something that's a pain. In the New Virtual Machine wizard you can create, but not configure, a virtual hard disk. By default it creates an expanding drive. However, we're dealing with FAT16 so we're going to need to go back and create 2gb fixed drives. So when you get to this screen just call the hard drive "TEMP.vhd" or whatever because we're going to delete it shortly.
Complete the Wizard
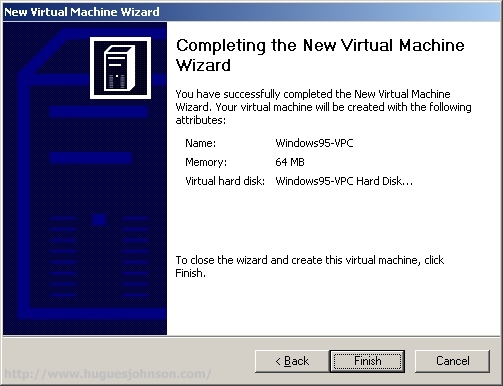
Wizard's done, guess I didn't really need a screenshot for that.
Virtual PC Console
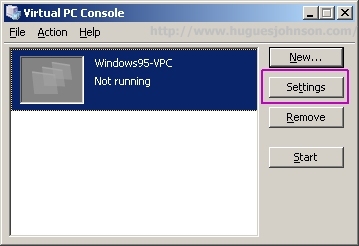
You should now be on the Virtual PC console. Select the newly created machine and hit the Settings button.
Hard Drives
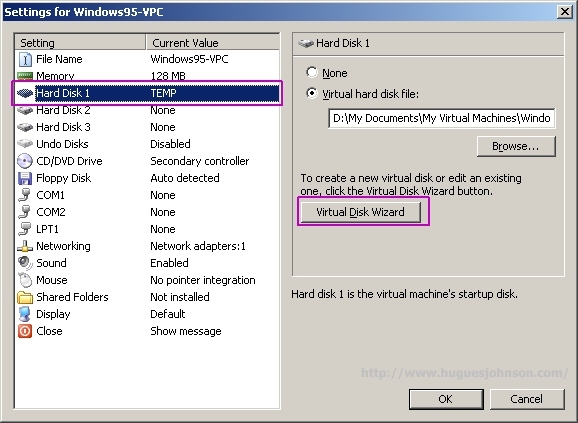
Select Hard Disk 1 and hit the Virtual Disk Wizard button.
Create a New Virtual Disk
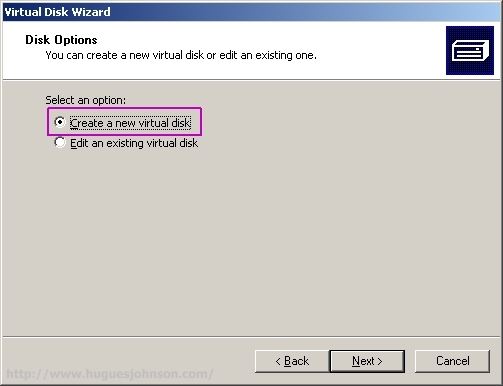
Select the option to create a new virtual disk.
Select Virtual Hard Disk
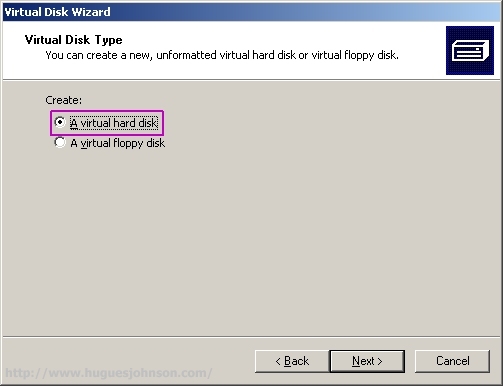
Select the option to create a new virtual hard disk.
Specify Disk Location
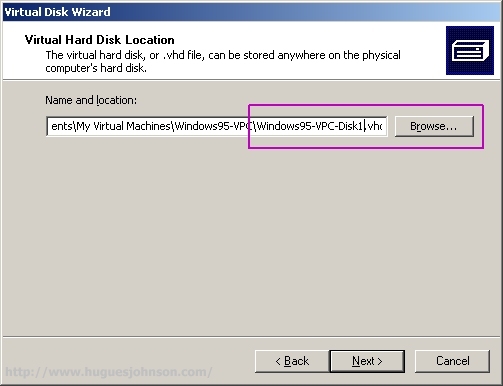
Choose the name and location of the virtual hard disk.
Create a Fixed Size Hard Disk
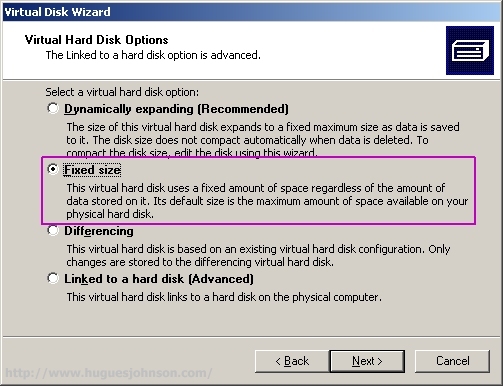
On the Virtual Hard Disk Options menu you'll want to choose Fixed size.
Set Hard Disk Size
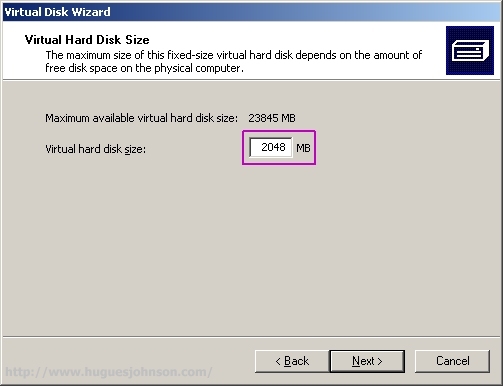
Set the disk to be 2048mb which is the FAT16 limit.
Repeat the previous five steps for hard disk 2. For my Windows 95 virtual PC I went with 2x2gb drives so the image would fit nicely on a 4.2gb DVD disk. My plan is to use the c: drive for Windows 95 itself and any other applications I feel like reviving. The d: will be loaded with ~2gb of dusty old games. This creates a nice, compact gaming disc that can be used on any Windows 2000+ machine. All you have to do is create a local differencing disk and start playing right off the DVD, no installs or configuration required.
Verify Settings
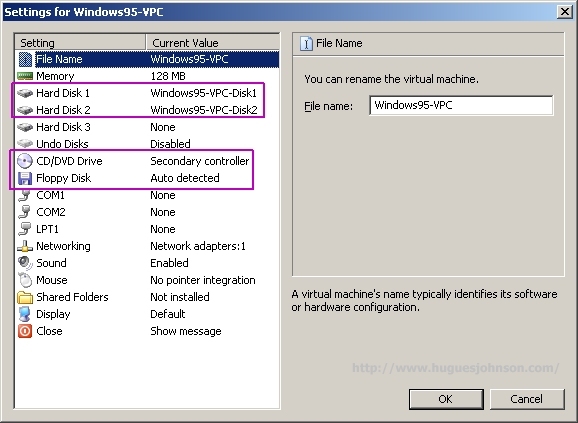
OK, quick sanity check. Hard Disk 1 & 2 there, check. CD & Floppy Disk setup, check.
Time to Start

So if you're feeling lucky, go back to the console and hit the Start button.
First Boot
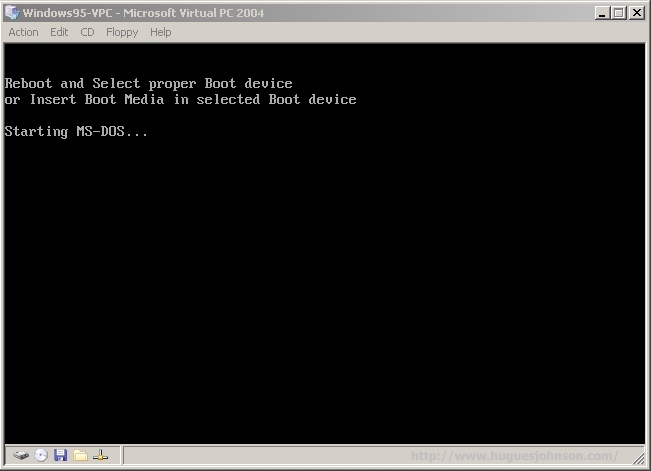
Throw the old DOS 6.2X disk 1 in and start the machine.
Configure Unallocated Disk Space
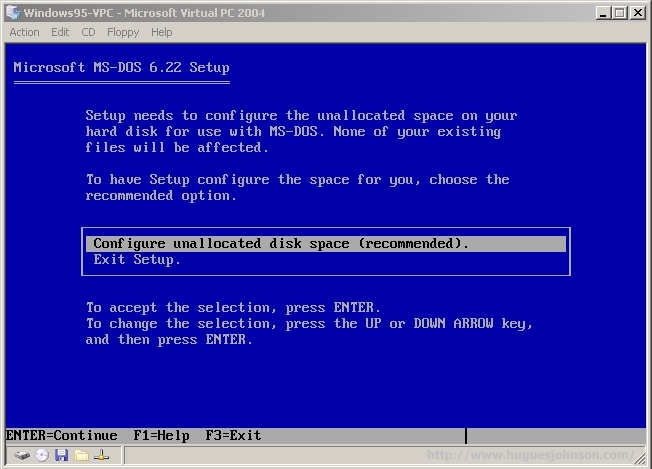
The DOS 6.2X installer will ask if you want to configure unallocated disk space. Of course you do.
Format Drives
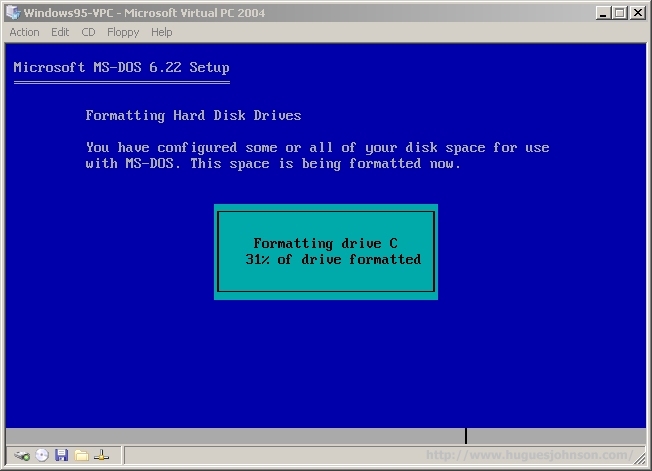
In a few seconds it will format both of the virtual hard drives. If feels great to see this screen fly-by.
Setup
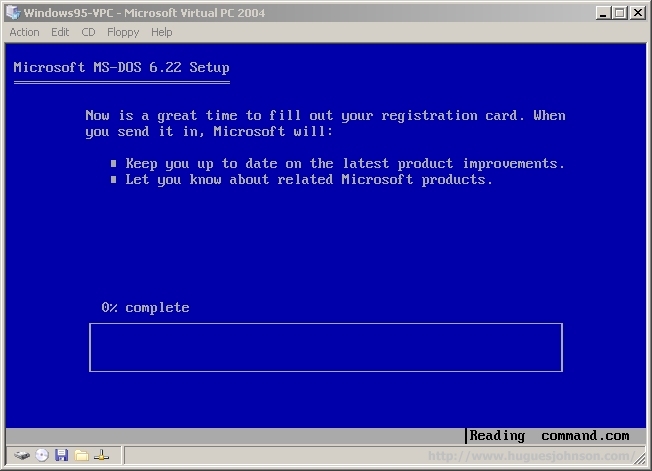
"Now is a great time to fill our your registration card." Now where did I put it?!
Disk Swapping

OK, here's something annoying. When you change floppy disks the virtual drive doesn't seem to know. It appears to catalog the disk and then refer to that catalog when the virtual machine tries to access it. As a result, you put in disk 2 but the DOS setup insists you still have disk 1 in the drive. You'll have to click on the little 3.5" disk icon in the lower left corner to release and recapture the drive. Even then you'll have to hit enter a few times for things to work.
config.sys

When I was a kid, if we wanted to use a fancy CDROM drive we had to edit these stupid text files called autoexec.bat and config.sys. In config.sys you'll need to add the ol' "DEVICE=C:\DOS\EMM386.EXE" and "DEVICE=C:\DRIVERS\OAKCDROM.sys /D:MSCD001" lines. Of course your DOS install path and driver name could be different.
autoexec.bat

Here you'll need to add a "LOADHIGH=C:\DOS\MSCDEX.EXE /D:MSCD001". You may also want to REM out the "C:\DOS\SMARTDRV.EXE /X" line since the Windows 95 installer will just complain and disable it anyway.
xcopy the Windows 95 CD
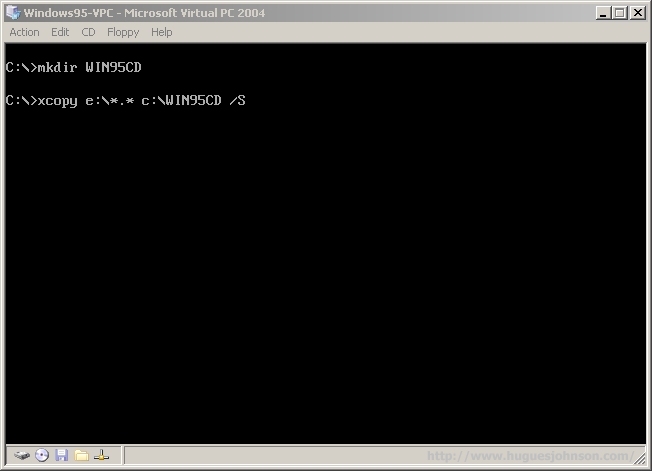
Now you'll want to copy over the Windows 95 install CD. In case you forgot the syntax it's "xcopy e:\*.* c:\WIN95CD /S". It installs faster off the virtual hard drive and there's the whole aforementioned motherboard driver issue. There's also the annoying feature Windows 95 has where it sporadically asks you for the install CD when you try to access something for the first time (even if you swear you installed everything).
setup.exe
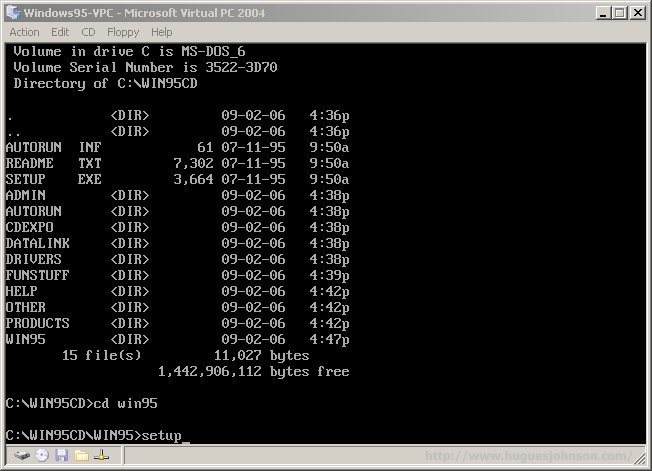
All right, it's go time. Go to C:\WIN95CD\WIN95\ and run setup.exe (as opposed to the setup.exe in the root of the CD).
Mouse Integration
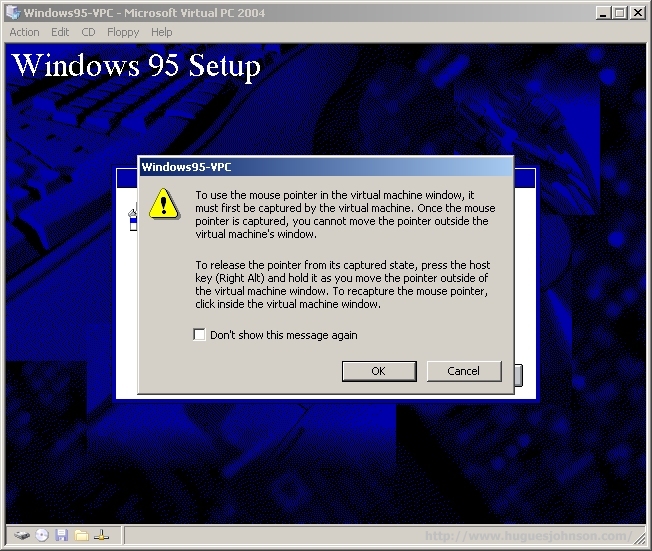
Now you get to deal with mouse integration. This dialog tells you what the deal is.
Bad Times
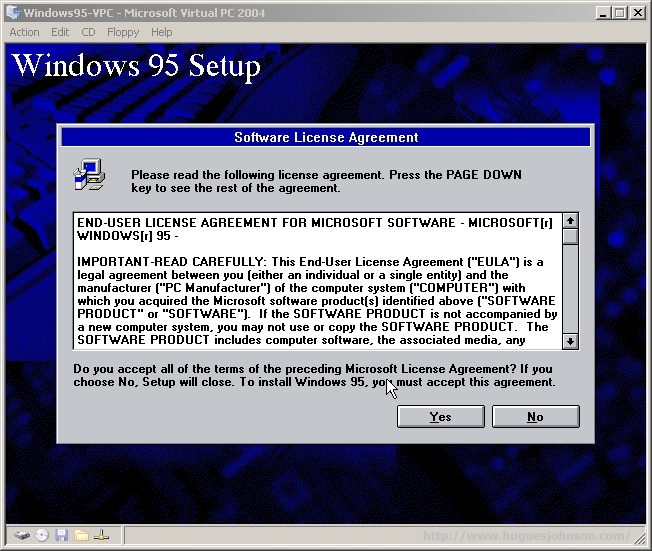
Here's where things went spiraling downhill for me. The Windows 95 install totally died at the EULA dialog. It wouldn't respond to the mouse or keyboard (not even CTRL+ALT+DEL). Totally dead. I tried various memory, autoexec.bat, and config.sys settings but never got past this screen. I decided to give up for a while until I came to a solution...
So you're probably wondering "will I have the same problem?" I don't have a good answer, there are a few things to consider though:
The moral of the story (which you'll see in the next two steps) is "if things don't work the first time, try a different bootdisk".
Windows 98 Bootdisk to the Rescue
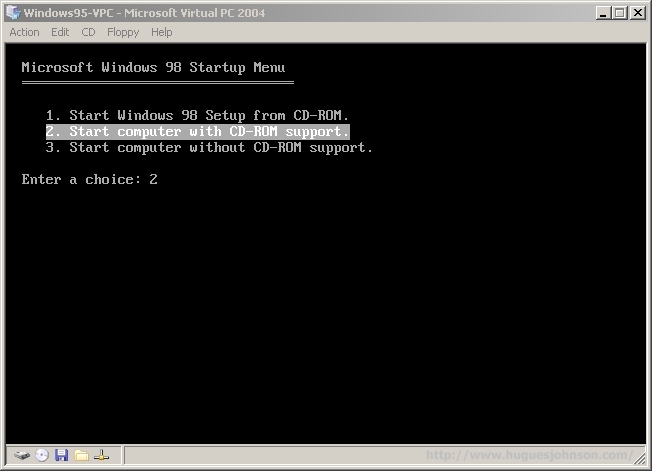
(If you got past the previous screen then please ignore this step). Before completely giving up I decided to reach into the ol' OS wallet and try the trusty Windows 98 pre-install disk. Even in 1998 not all PCs had a BIOS that supported booting off a CDROM. Windows 98 installs came with a floppy disk that booted the PC into DOS mode so the install could be run manually. I figured this would be easier (and faster) than dorking with settings for an hour.
Back in Business!
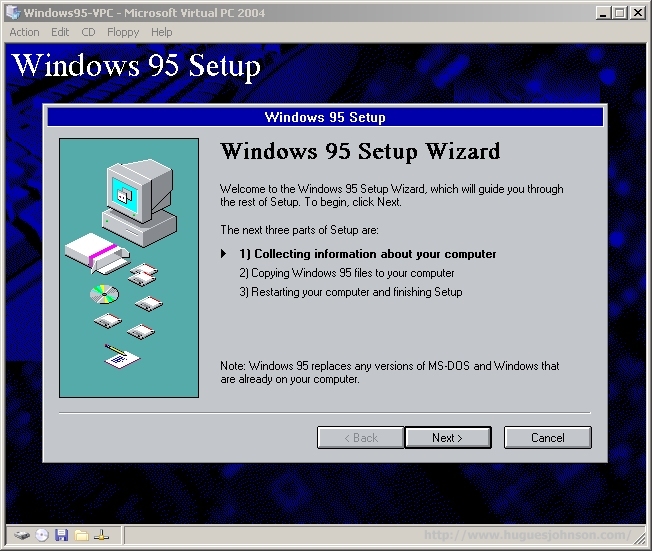
Yup, that bootdisk did the trick.
Analyzing Your Computer
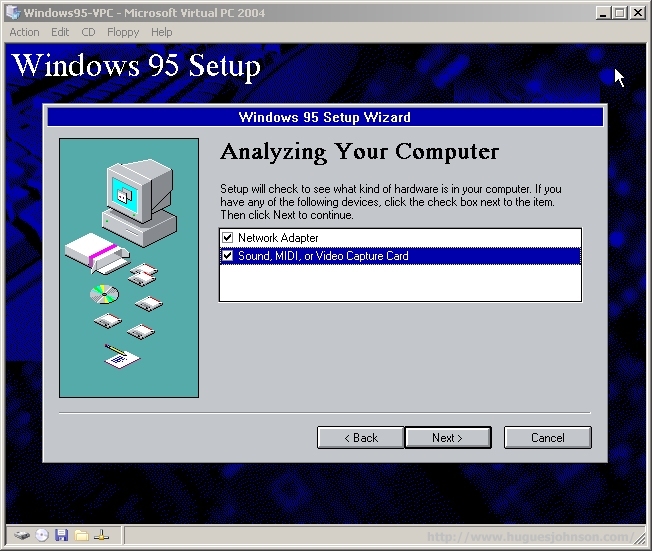
I won't go through all the Windows 95 installation steps here. I'm gambling that you're already familiar with installing Windows and the UI is pretty simple to follow if not. On this first dialog make sure to have everything checked unless you want to disable network support. I went with the "install everything" approach when it came time to select components.
Copying Files
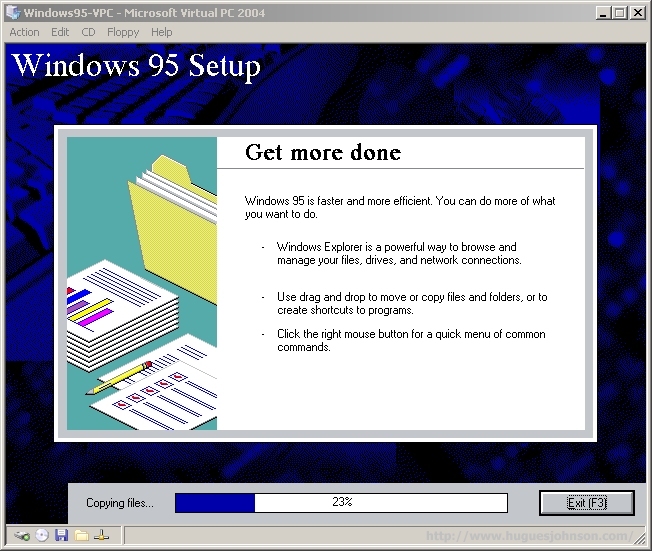
I remember wasting hours watching that little "Copying files" meter slowly climb. Out in virtual land it absolutely flies.
Success
...and here's the sign of success. You'll have to go through yet another set of configuration screens after the first boot but if you got here then everything's fine.
Intel Drivers
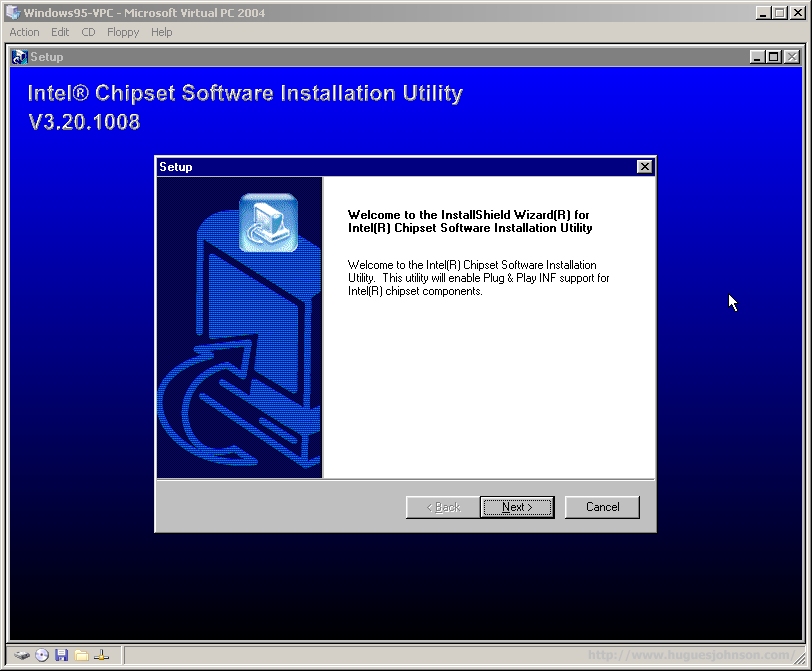
I'm calling the Intel drivers an "optional tweak" because everything worked fine without them. Unless you're looking to try more advanced stuff than just old games then there's probably no need to install them.
Resolution

I went in and changed the resolution to 800x600 (32-bit color). After doing this the mouse went all wacky. It was off by ~160x120 pixels, meaning if I clicked on one part of the screen it registered in a different location. I tried reboots, hard (virtual) boots, other resolution settings; nothing worked.

For some reason which I will never comprehend, turning on the pointer tail solved the issue.

I look just like Buddy Holly, and you're Mary Tyler Moore.
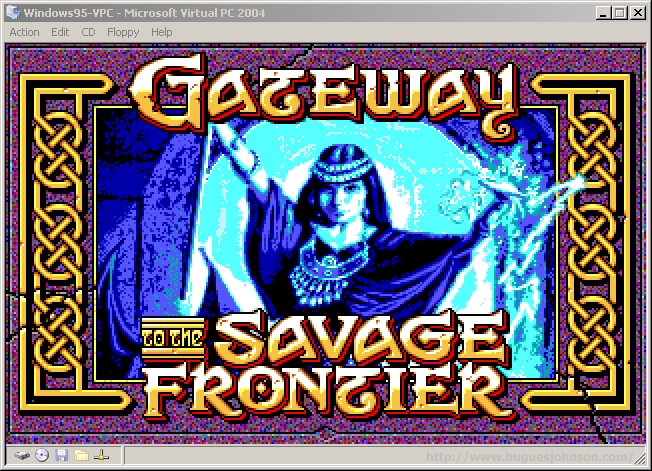
The whole reason I went through this crazy endeavor. Now if I only had some actual time to play games..
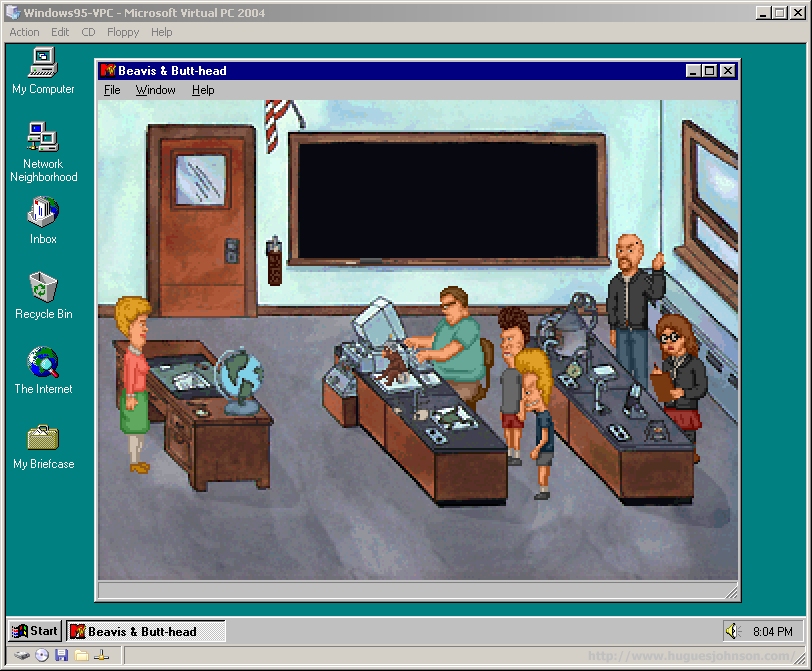
"Heh, heh, did you see the chick in the last picture? She totally wanted me."
"No way butt-munch, she wanted me."
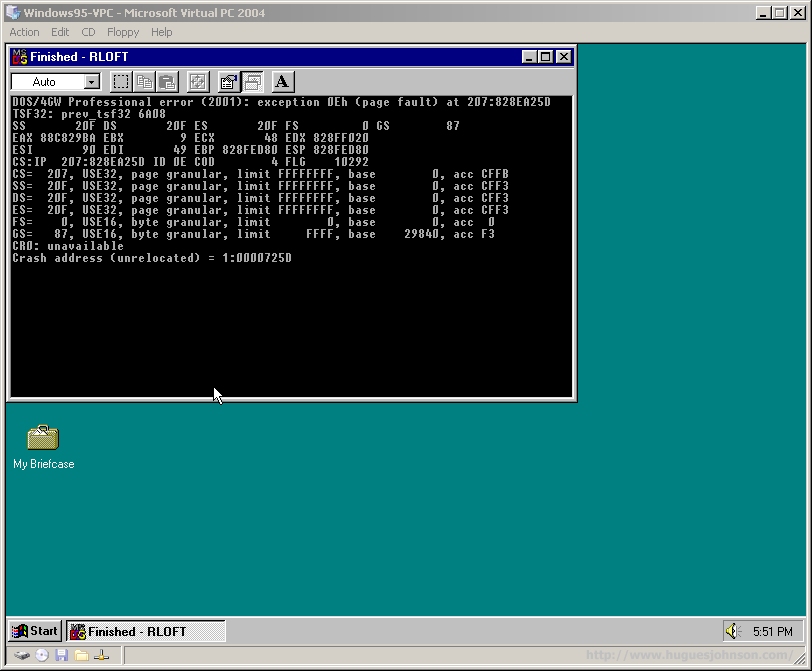
Ravenloft had some issues. I think I entered something wrong in one of its endless configuration screens.
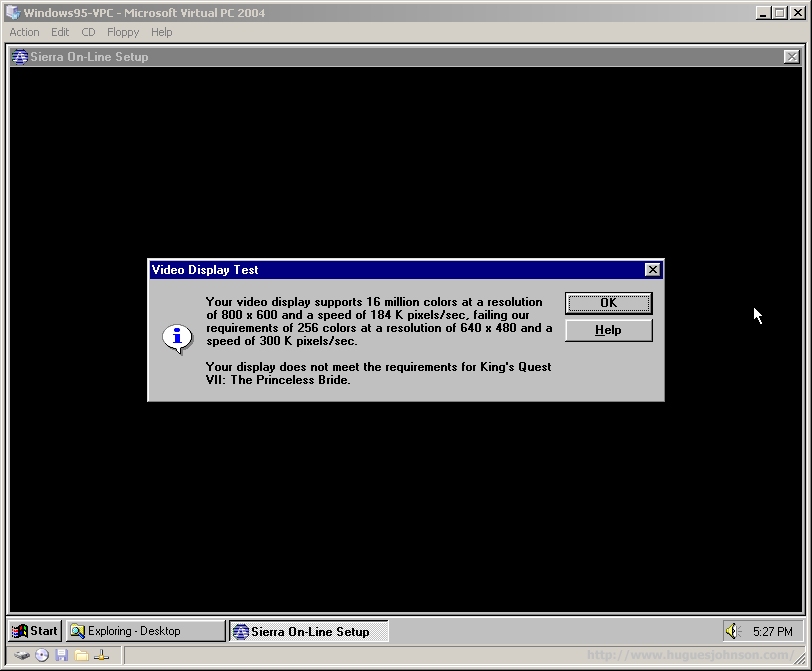
Sierra had some pretty interesting Windows support back in the day. They had Windows 95 versions of all their games but insisted to run in 256 color mode.

King's Quest VII ran just fine despite all it's whining about the colors and video card speed.
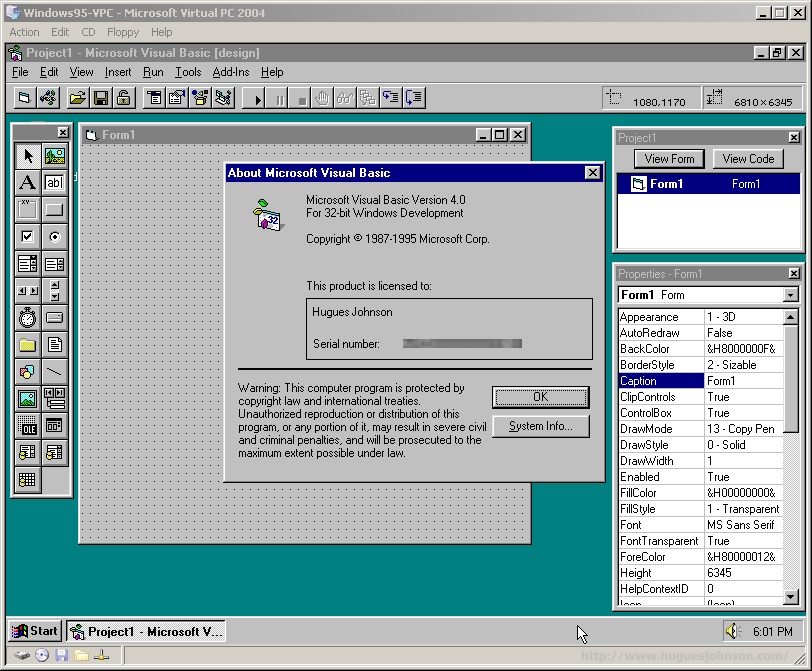
In 1996 I bought Visual Basic 4 through a Microsoft resellers program for a dirt cheap price. I spent a lot of time during class breaks in 1997 self-learning the language. By early 1998 I was able to land my first programming job. Thanks VB4!
So I wasn't content to stop here. The closet in my office is filled with various computer parts that I should just sell already. Among the clutter is the hard drive from the Micron PC I bought in 1995. Back then I was all excited about Windows 95 but didn't know how to build a PC. I used that PC until 1999 when the drive controller died. It was time to upgrade anyway. The hard drive itself still works perfectly though. One day it occurred to me that I could probably still boot off it in Virtual PC. Windows 95 is pretty robust in that regard. You can pop the hard drive into any machine and it'll figure out what to do. Try doing that with an NT-based version of Windows.
Tools needed: USB external hard drive enclosure, WinImage.
Why do I need WinImage? I couldn't get this to work without it. My first plan was to just point a .vhd to the physical drive, boot Windows 95, and copy the physical drive to a new .vhd. Windows 95 didn't care for this plan though, threw a lot of blue screen errors like it did for the 3.5" USB drive. Mapping a USB drive to a virtual drive apparently isn't an exact science. There's probably a way to do it but it's so much less painful to just use WinImage to copy the physical drive to a .vhd file.
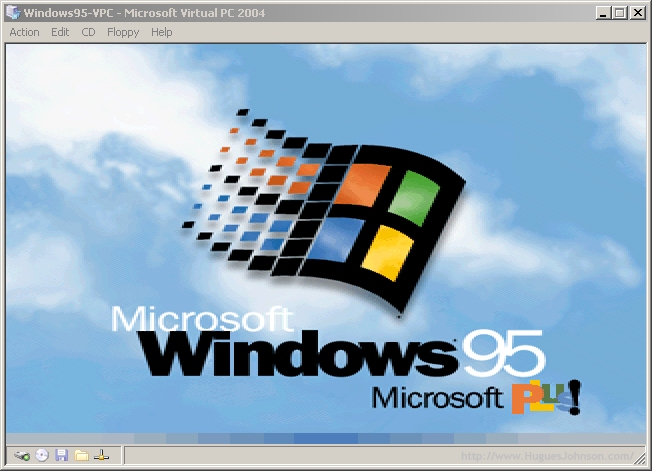
The drive booted just fine. Windows then detected a ton of new hardware and rebooted more times than I could count. Reboot->new hardware found->repeat. Eventually it got to the desktop but could only run in 256 colors.

After uninstalling the old video drivers and installing the Intel 440BX driver everything was working perfectly. It's exactly how I left it nearly 8 years ago and, to my surprise, fully functional. If I find any $1 hard drives at garage sales this summer guess what I'm trying...
Related