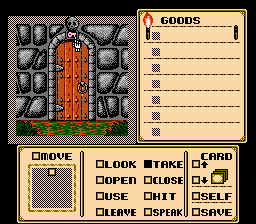
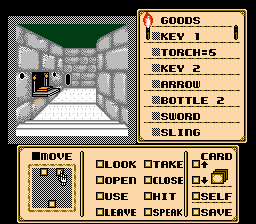
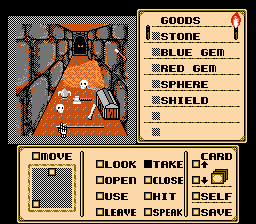
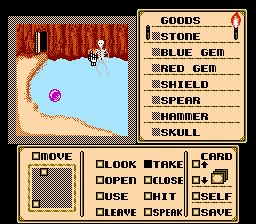
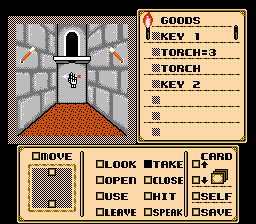
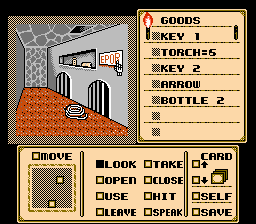
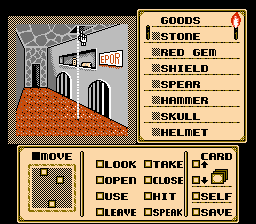
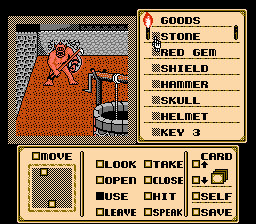
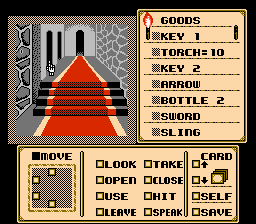
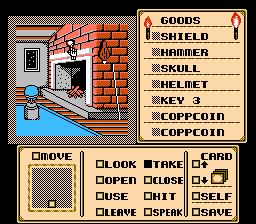
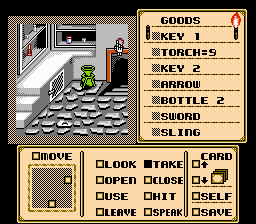
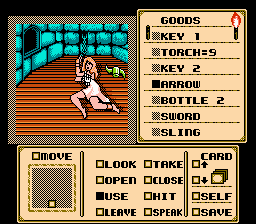
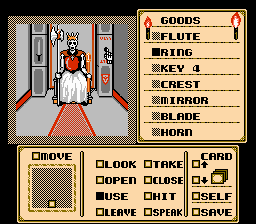
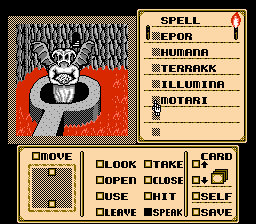
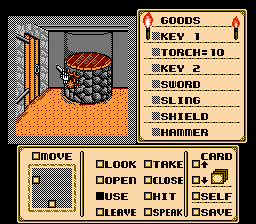
Open the skull above the door and take Key 1.
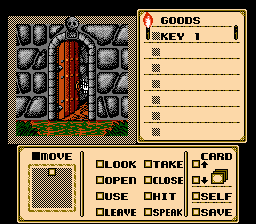
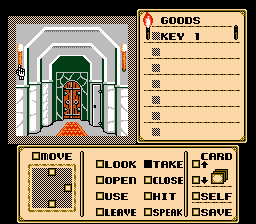
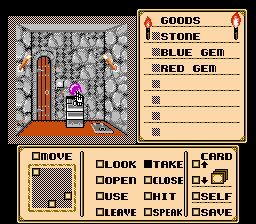
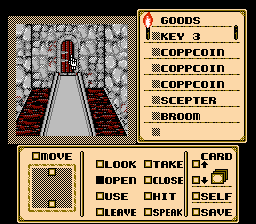
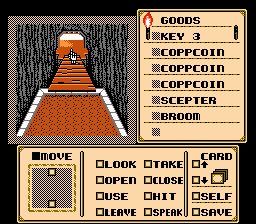
Open the door and move to the first room.
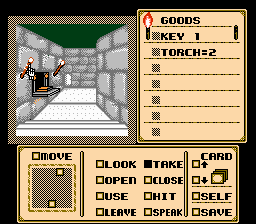
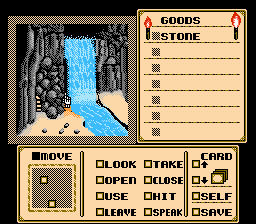
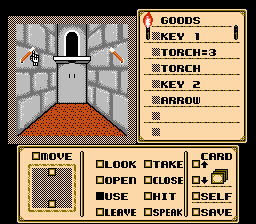
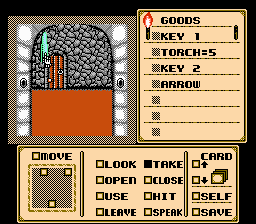
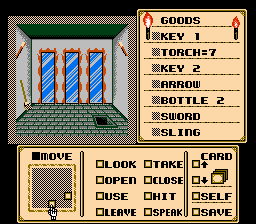
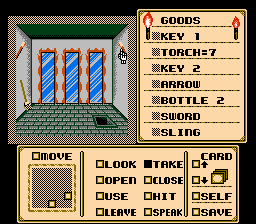
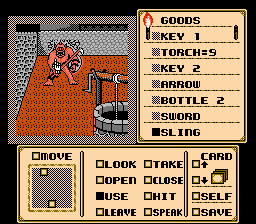
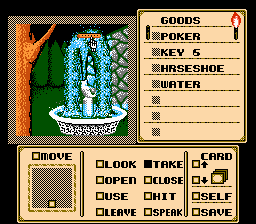
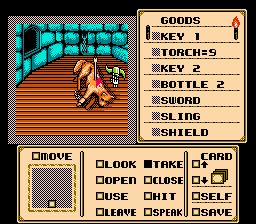
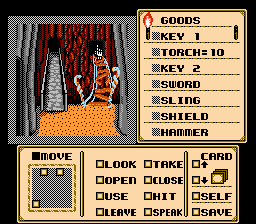
Take both of the torches.

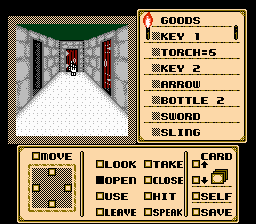
Open the door and move to the next room.
Take the two torches. One of them is a magic torch that is used soon.
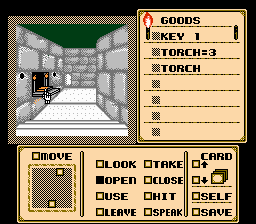
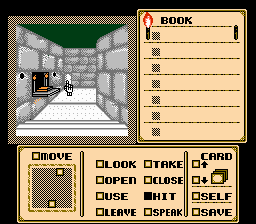
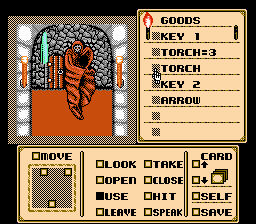
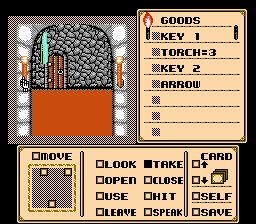
Open the book, don't take the book though or a trap will go off.

Take Key 2.
Hit the light colored brick against the back wall to open a secret passage.
Go back to the previous room and use Key 2 to open the small door.
Enter the small door.
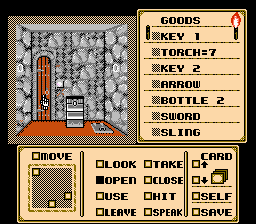
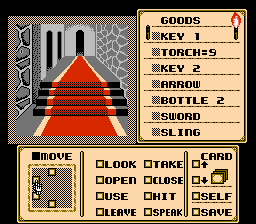
Take the Sword and Sling.
Go back to the room with the book and take the exit to the right.
Open all three doors.

Go through the door on the right first.
Open the door against the far wall and move to the next room.
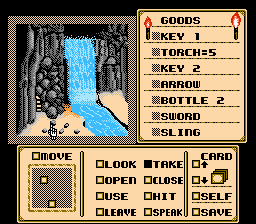
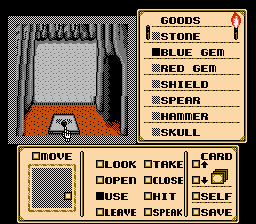
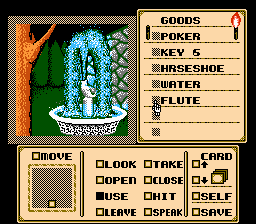
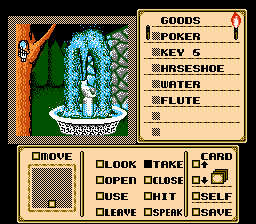
Pick up at least one stone.
Move into the small gap behind the waterfall.
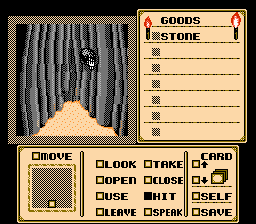
Hit the stone.
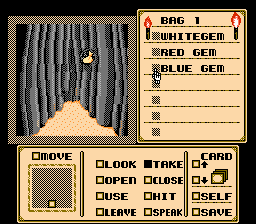
Open Bag 1 and take all three gems inside.

Move back to the room with the three doors and move to the left room.
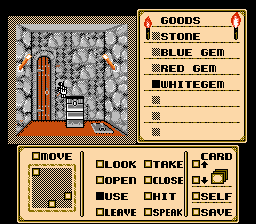
Place the Whitegem in the hole next to the door.
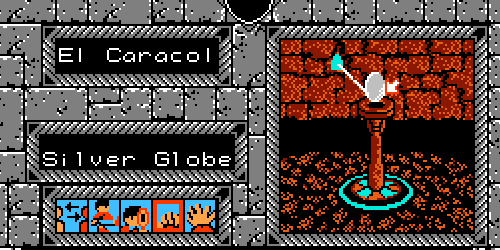
Take the Sphere.
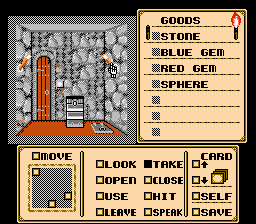
Take the torches.
Open the door and move to the next room.
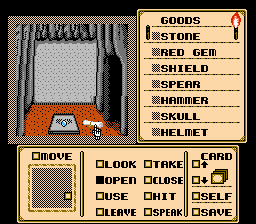
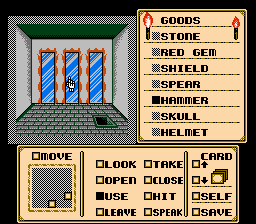
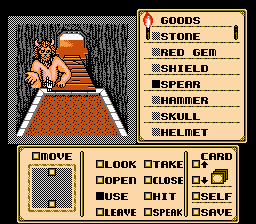
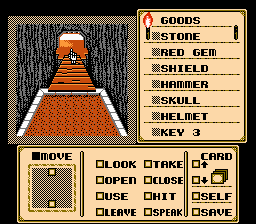
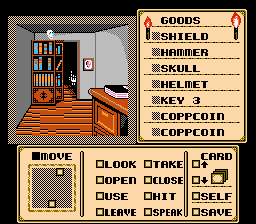
In the next room the Shield must be taken first.
There will be time to take two other items. The hammer and spear are required.

Exit and re-enter to take up to three more items at a time.
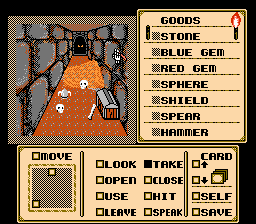
Torches are always useful and a skull is needed to solve a puzzle later on. However there is another place where a skull can be found.
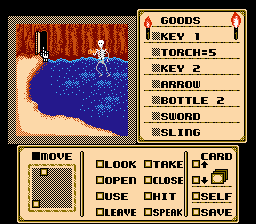
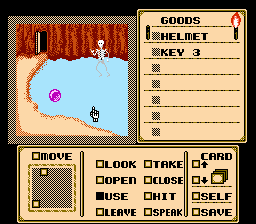
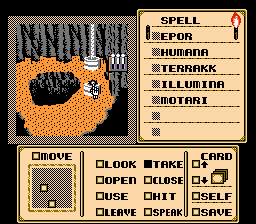
Head back to the room with the small lake.
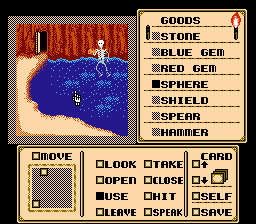
Use the Sphere on the lake to freeze it.
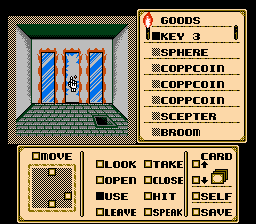
Take Key 3.
Use a lit torch on the lake.
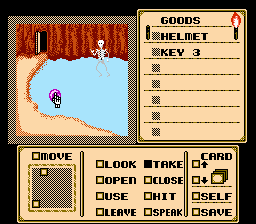
Take the Sphere back.
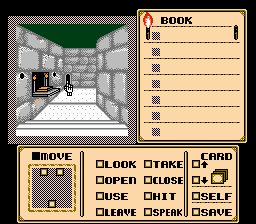
Go back to the room with the book and move to the secret passage.
Take the Arrow.
Move the torch against the left wall to open a secret passage.

Move through the secret passage.

For now only the stone bridge can be crossed.
Use a lit torch on the magic torch (the one found in the room with the book).
Take the torches.
Take the Cloak.
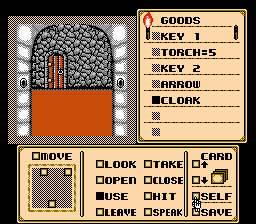
Use the Cloak on Self to wear it.

Open the door and move to the next room.
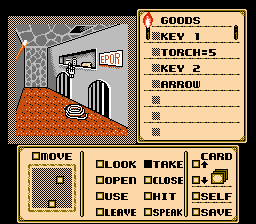
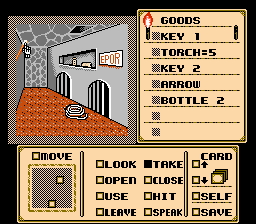
Take Bottle 2 (the leftmost one).
Take the torch.
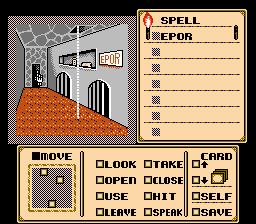
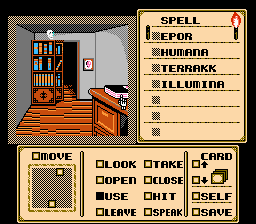
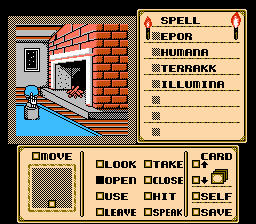
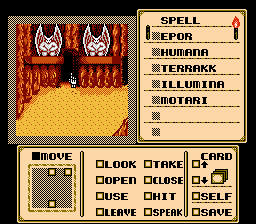
Read the sign twice to learn the Epor spell.

Speak the Epor spell to raise the rope.
Open the door against the back wall and move to the next room.
Place the Blue Gem in the hole.
Open the scroll.
Go back to the previous room and move up.
Move back for now.
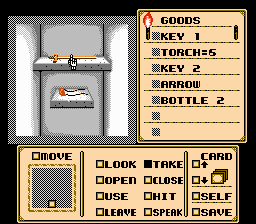
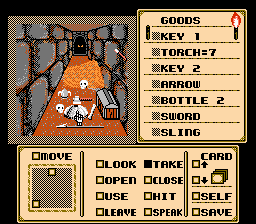
Open the last coffin on the right and use a lit torch on the mummy inside.
Take the Staff.
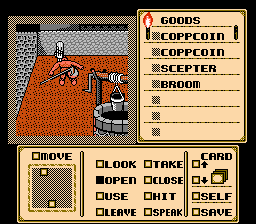
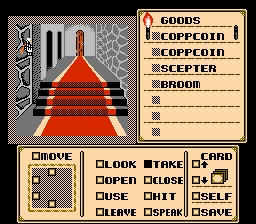
Move back to the room with the mirrors. Take the torches and broom.
Use the Hammer on the middle mirror.
Use Key 3 on the door.

Move to the next room.
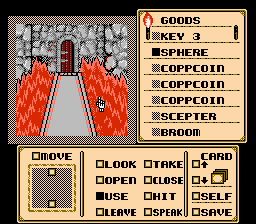
Use the Sphere on the flames.
Open the far door and move to the next room.
Try to cross the bridge.
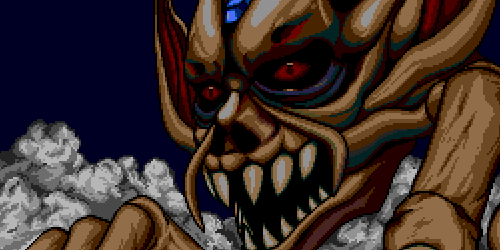
A troll appears, use the Spear on them.
Now cross the bridge.
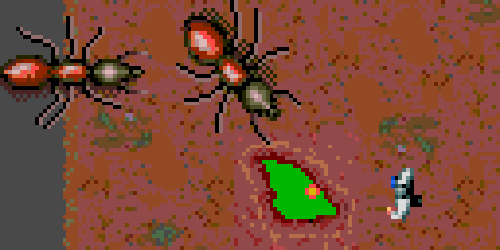
Use the Stone on the Sling.
Use the Sling on the enemy.

Once they are down use the Sword on them to finish them off.

Use the handle on the well.
Open the bucket.
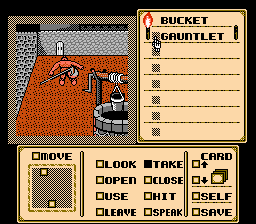
Take the Gauntlet.
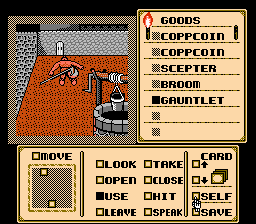
Use the Gauntlet on Self to wear it.
Open the door and move to the next room.
Take the torch.
Open the door.
Move to the first room on the left.

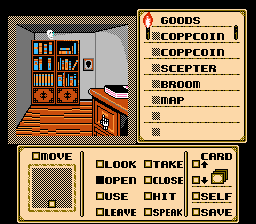
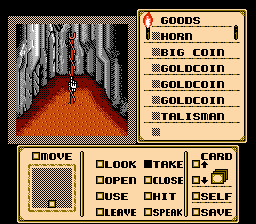
Take the Map and Skull (if one wasn't previously taken).
Open the desk drawer.
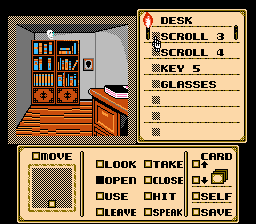
Open Scroll 4 and Scroll 5.
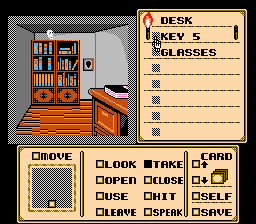
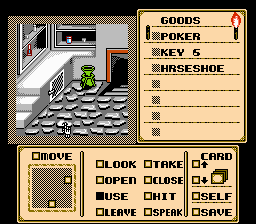
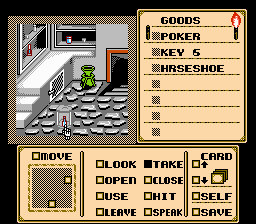
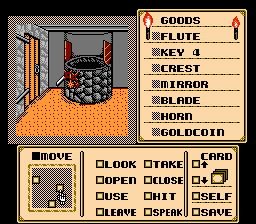
Take Key 5.

Take the Glasses.
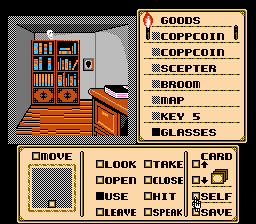
Use the Glasses on Self to wear them.
Put the Red Gem in the hole on the wall.
Use the book on the desk to learn another spell.
Move to the next room.
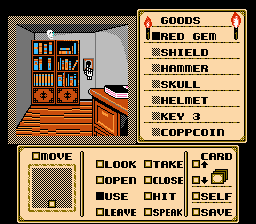
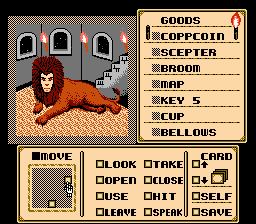
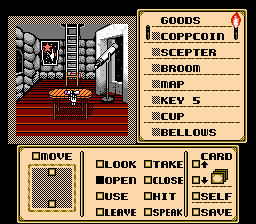
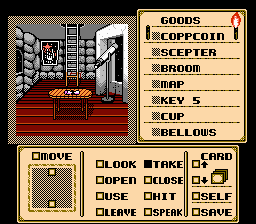
Take the bellows and scepter, the cup is optional.

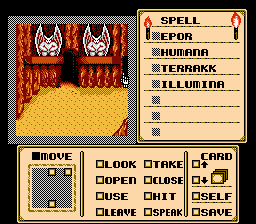
Speak the Terrakk spell.
Open the globe.
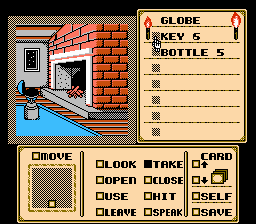
Take Key 6.
Go back to the room with three passages, enter the top left one.
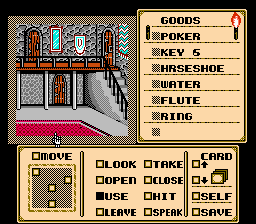
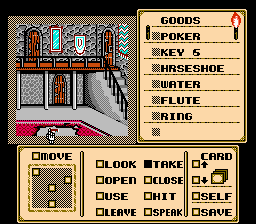
Take the Horseshoe.
Open the floor tile with the hook on it.
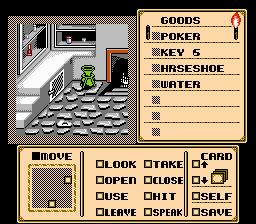
Take the Water.
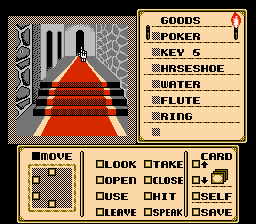
Move down the stairs.
Take the Flute.
Use the Flute.
Take the Ring.
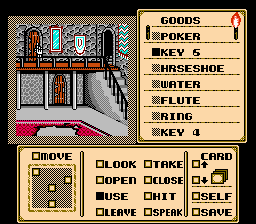
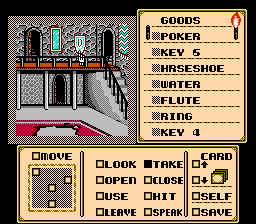
Go back to the room with the three passages. Take the one at the end of the hall.
Use a lit torch on the carpet.
Take Key 5.

Use Key 5 on the top right door.
Use Key 6 on the top left door.

Use Key 4 on the center door.
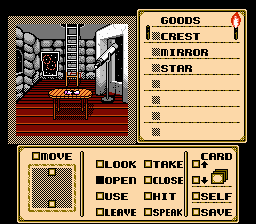
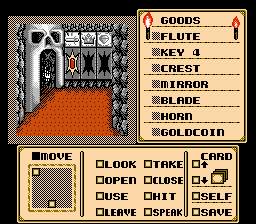
Take the Crest and Mirror.
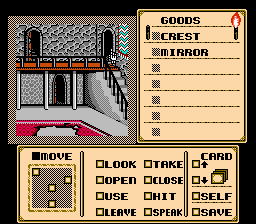
Move through the top right door.
Moving up the stairs triggers the Sphinx to ask a riddle.

Use the item they're describing, these puzzles are all incredibly easy.
Now move up the stairs.
Open the scroll.
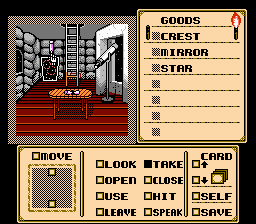
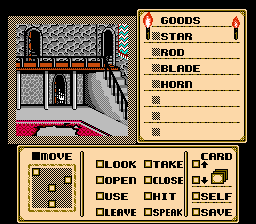
Take the Star.
Open the plaque the Star was attached to.
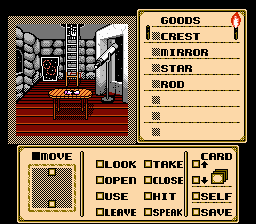
Take the Rod.
Move up the ladder.
Use the Arrow on the woman.
Take the Blade.
Move back to the room with three doors. Take the top left door.
Try to take the Horn.
Use the Water on the hellhound.
Now take the Horn for real.

Move up the ladder.
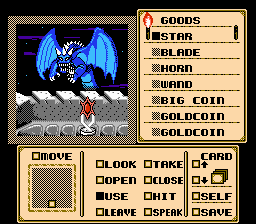
Use the Star on the wyvern.
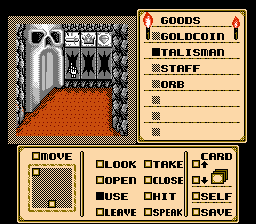
Take the Talisman.
Go back to the room with three doors. Move to the lower door.

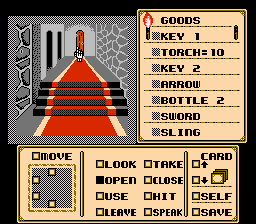
Take the torches.
Go through the door on the left.
Place the Rod on the small hole.
Take the Wand.

Move to the left.
Open the bag.
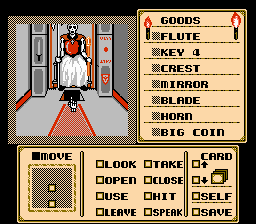
Take the Big Coin and at least one Goldcoin.
Backtrack all the way to the room with the two bridges.
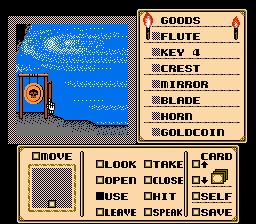
Use Bottle 2 on Self.
Cross the wooden bridge.

Use the Wand on the snake.
Take the Staff.
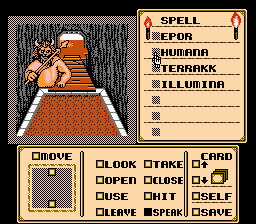
Start heading back to the previous hallway. Along the way the troll blocks the path again but now they have the spear. Speak the Humana spell to sneak past them.

Once back at this hallway, take the right passage.
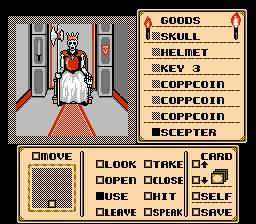
Use the Scepter on the skeleton's empty hand.
Place the Ring in the hole that appears.
Move down.
Take the torches and move forward.
Take the right passage first.
Speak the Motari spell.
Cross to the next room.

Use the righmost handle.

Use the center handle.

Use the rightmost handle again.
Take the Orb.
Go back to the room with the gargoyles. Speak the Illumina spell.
Move to the next room.
Use the handle to open the well.

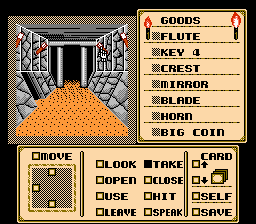
Throw a Big Coin into the well.
Move down the well.
Use the little hammer on the gong.

Give the skeleton a Goldcoin.
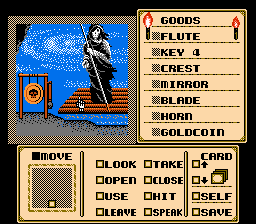
Move onto the raft.
Place the Talisman in the leftmost slot (the one with the sword icon).

Use the Horn.
Move to the next room.
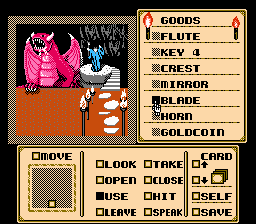
Use the Blade on the Staff.
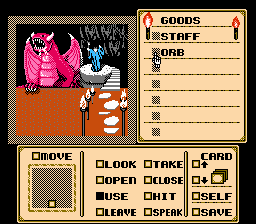
Use the Orb on the Staff.
Use the Staff on the dragon.
Hooray, the end.
Tags: NES